Customer Onboarding
Topics in this document:
- Introduction
- Step 1: Insert name, email address, and password
- Step 2: Insert additional details
- Step 3: Choose a payment type and plan
- What next?
Introduction
To onboard a customer, once the EV Charge - Mobile App has been downloaded and installed from either Google Play Store or Apple App Store for Android or iOS, respectively, open the application, click Create account, and follow the steps below.
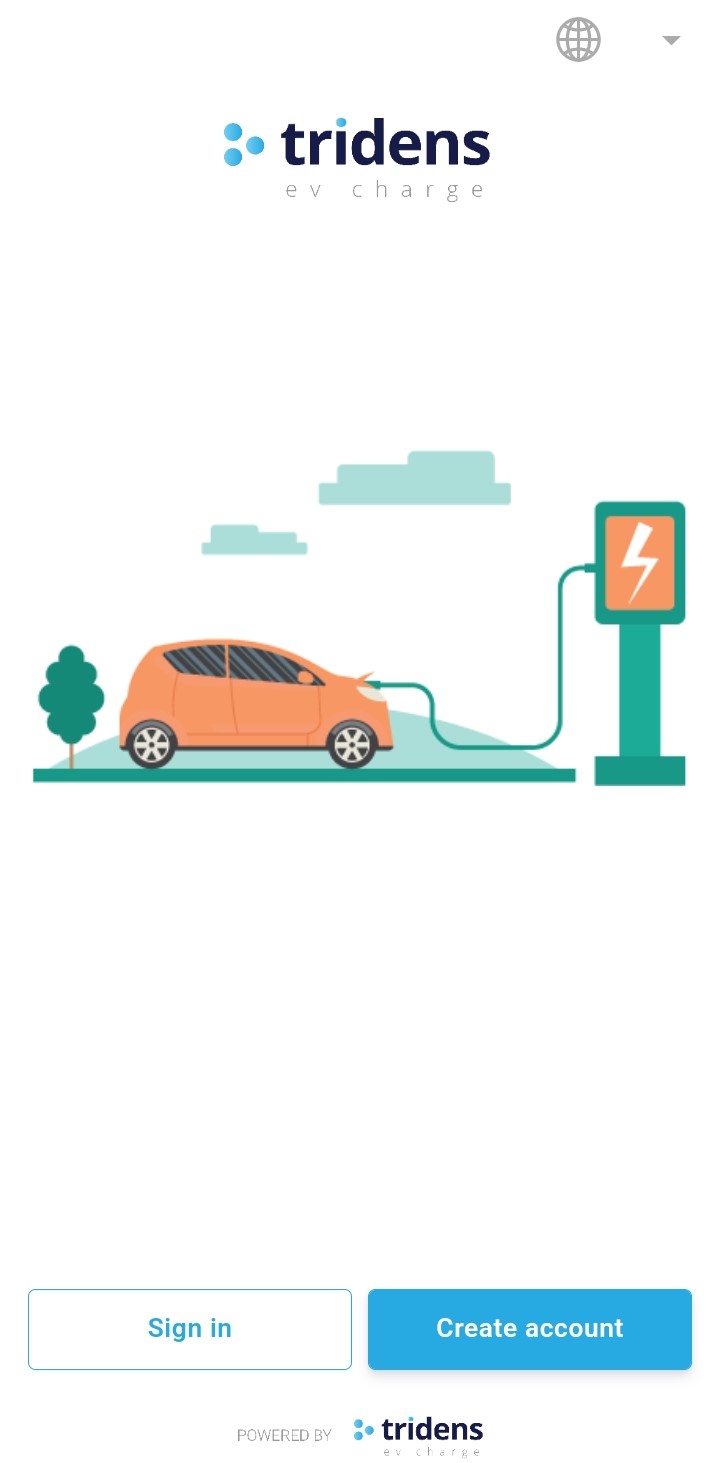
Figure 1: EV Charge - Mobile App: Home screen
Step 1: Insert name, email address, and password
You are required to insert the customer’s first name, last name, email address, and password. Then, click Next.
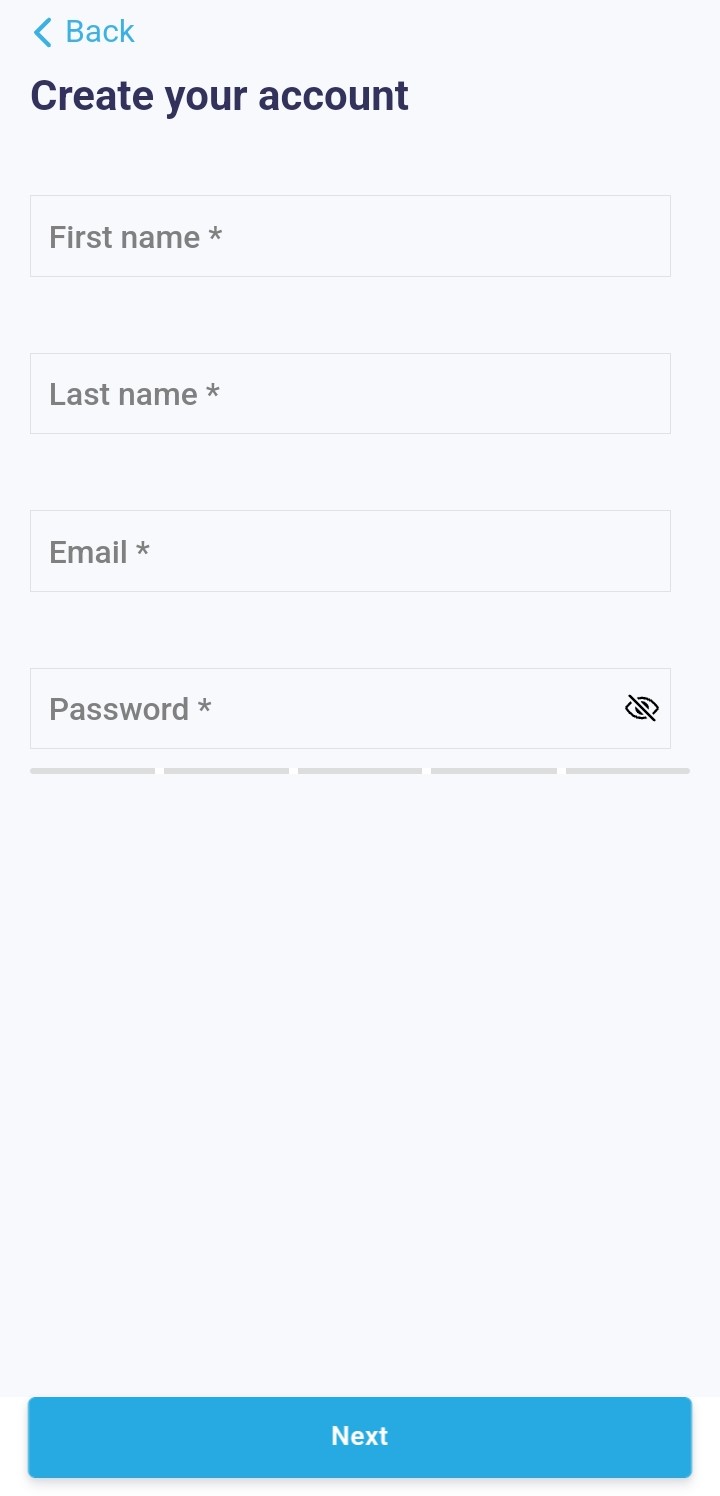
Figure 2: Create an account - Step 1
Information:
To go back to the previous step, click Back.Step 2: Insert additional details
You are required to insert the customer’s address, city, country, postal code, and phone number.
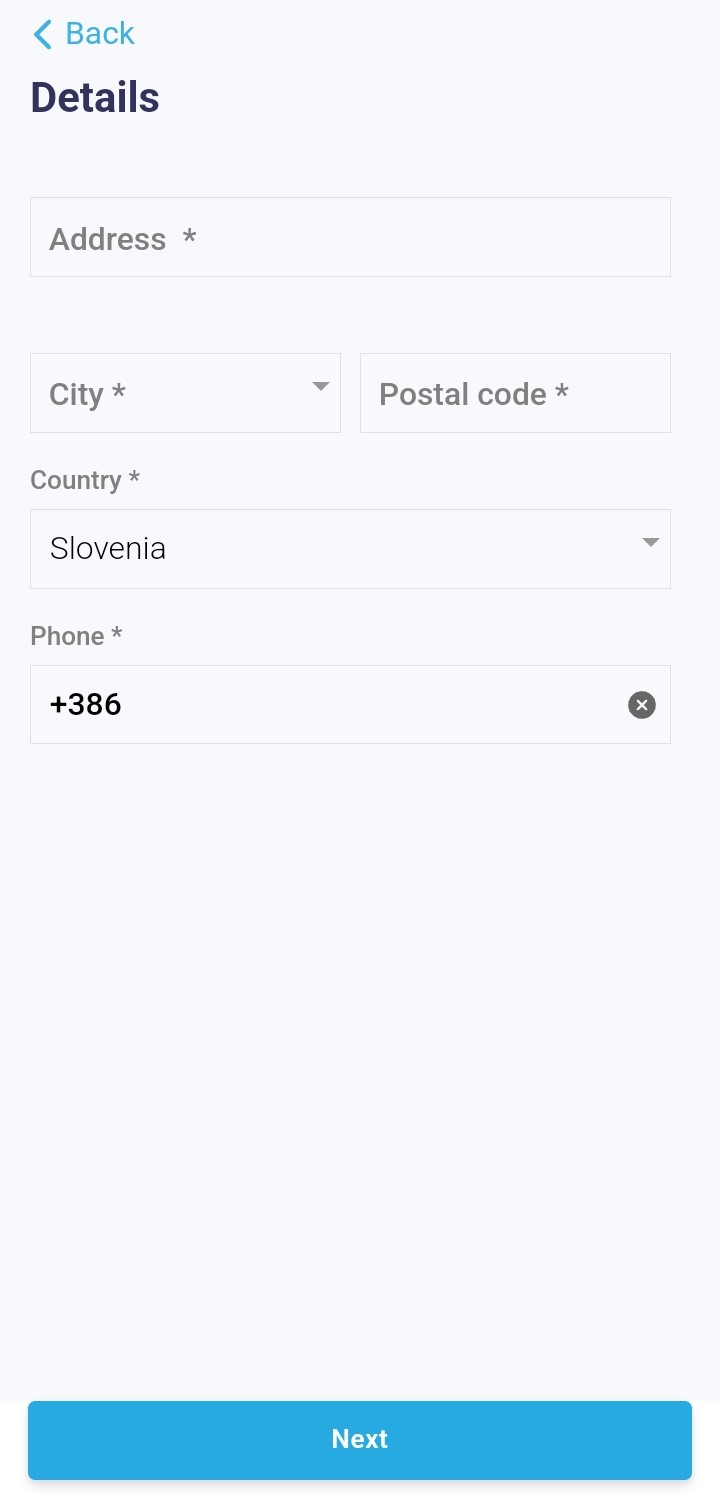
Figure 3: Create an account - Step 2
The EV Charge - Mobile App allows you to search for a country by name.
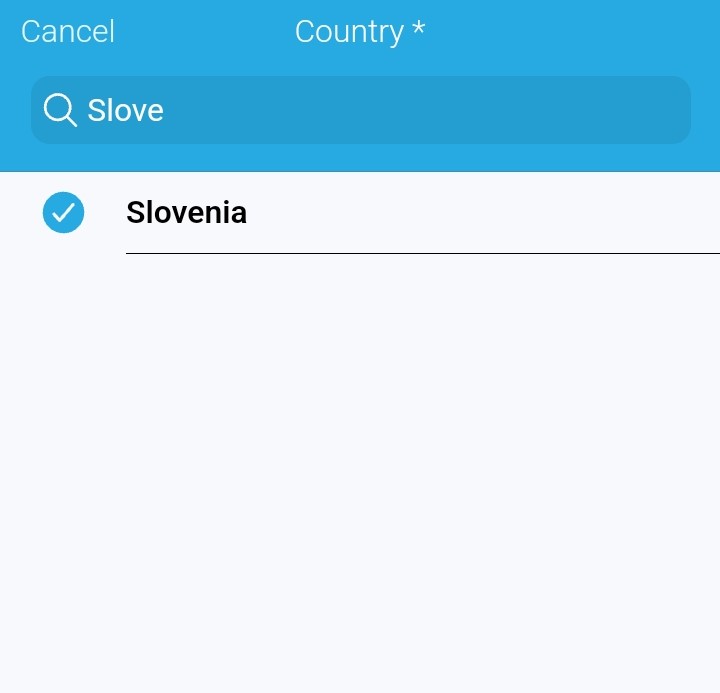
Figure 4: Search for a country
In addition, you can also search for a city based on the selected country. For instance, choosing Slovenia as the country and searching for Maribor as the city.
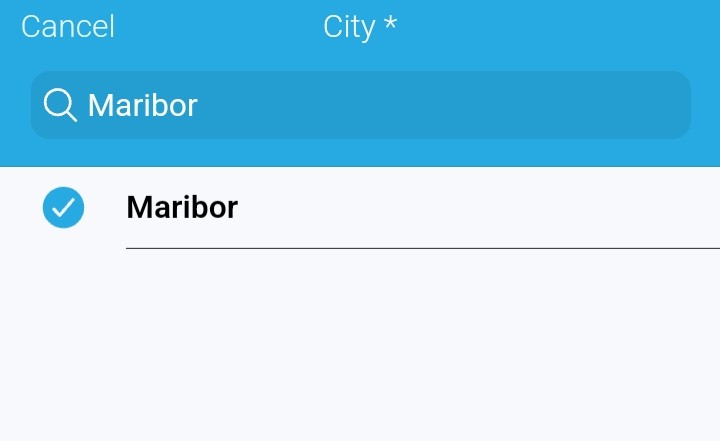
Figure 5: Search for a city
Note:
The address, city, and country can be added to the invoice generated for the customer as part of the billing details. This can be achieved when an invoice template is created in Monetization.From Figure 3, include the country code when inserting the customer’s phone number—for instance, +386 for a Slovenian number.
Information:
From Figure 3, to go to the next step, click Next; to go back to the previous step, click Back.Step 3: Choose a payment type and plan
Select the customer’s payment type: this could be prepaid, postpaid, or pay-as-you-go.
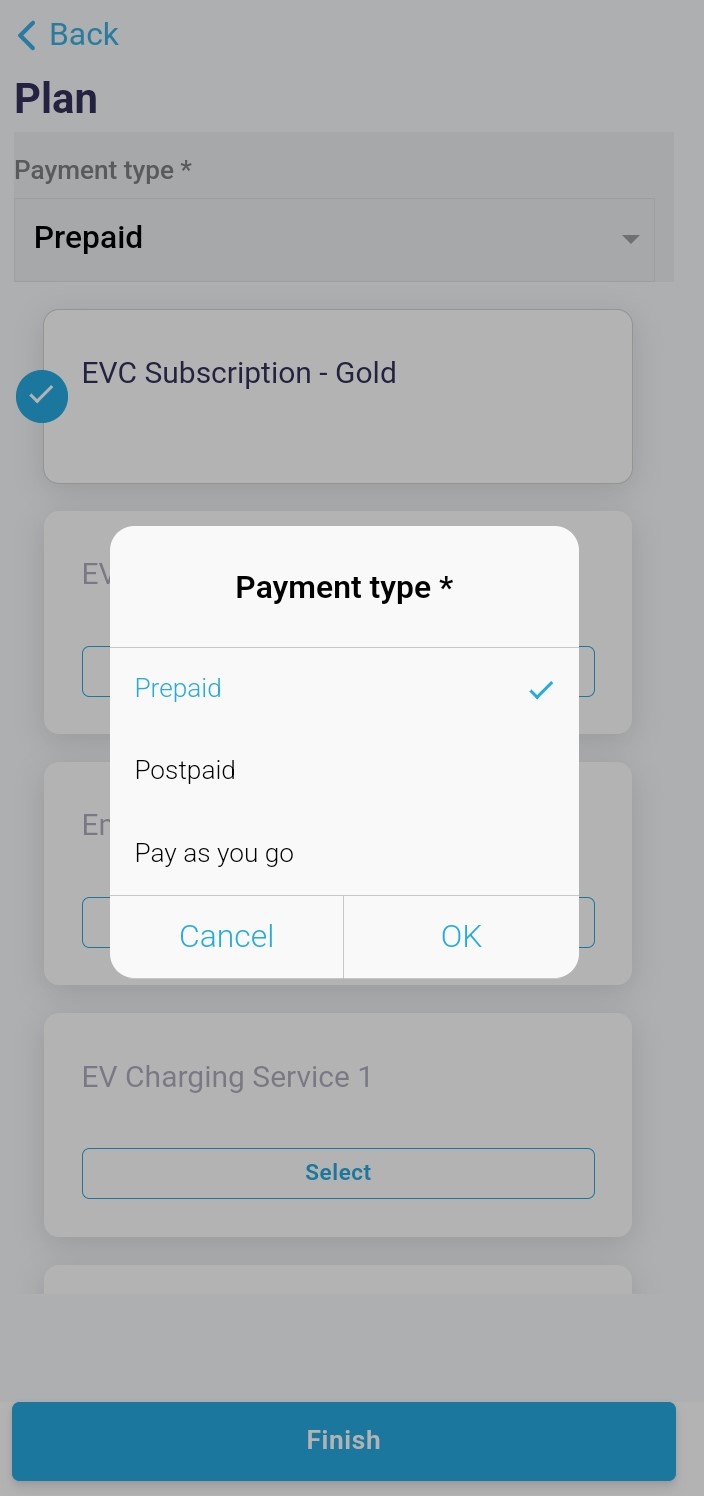
Figure 6: Choose a payment type
Note:
The payment types (prepaid, postpaid, and pay-as-you-go) can be locked/unlocked. Locking a payment type means it will not be available to your customers for selection in the EV Charge - Mobile App, while unlocking a payment type implies the opposite.
Therefore, you can choose which payment type to make available to your customers based on your business needs.
Pay-now payment type
The pay-now payment type is the most straightforward and is also called pay-as-you-go. By setting the payment type to pay-as-you-go, the customer pays for every separate charging session with a credit/debit card as soon as the session is over.
Therefore, before a pay-now customer can start a charging session in the EV Charge - Mobile App, a credit card must have been entered. To add a credit card in the EV Charge - Mobile App, see Adding a credit card.
Also, with the pay-now payment type, there must be a direct integration with a payment gateway provider—for example, Stripe. The integration with a payment gateway provider is configured in Monetization. For more information, see Payment Gateways.
Tip:
Before the actual charging session starts, a certain configured amount is recommended to be blocked on the customer’s credit card. This is to ensure that the customer has funds available on their credit card before allowing them to start a charging session.
Blocking a certain configured amount on the customer’s credit card can be likened to a pre-authorization.
Pre-authorization
Pre-authorization can be performed using either of three strategies:
No authorization
The customer’s credit card will not be checked for a certain configured amount to determine if the customer can pay for the charging session. Therefore, the customer can start a charging session regardless of whether there is money on their credit card.
Only first authorization
The customer’s credit card is checked once for a certain configured amount before the charging session starts. If the pre-authorization is successful (that is, the customer has a minimum of that amount on their credit card), that amount is blocked on the credit card. Then, the customer can start the charging session.
As soon as the charging session is over, the customer will be charged whatever amount of money accumulated during the charging session. In addition, any remaining funds blocked on the customer’s credit card will be automatically released.
Peradventure, the configured amount previously checked on the customer’s credit card runs out while the customer is still charging; there is no way to determine if the customer will be able to pay for the charging session once it is over.
Suppose the customer cannot pay due to insufficient funds from their credit card, the bill will stay open on their account, and the dunning job configured in Monetization can then send payment reminders to the customer.
In addition, the customer can see their bills in the EV Charge - Mobile App, under Sessions Bills. For more information, see Customer bills.
Full authorization
The customer’s credit card is checked for a certain configured amount. If the pre-authorization is successful (that is, the customer has a minimum of that amount on their credit card), that amount is blocked on the credit card. Then, the customer can start the charging session.
As soon as the charging session is over, the customer will be charged whatever amount of money accumulated during the charging session. In addition, any remaining funds blocked on the customer’s credit card will be automatically released.
Suppose the pre-authorized amount is reached while the charging session is still ongoing. In that case, another authorization is done. The charging session will then only continue if the re-authorization is successful. If not, the charging session ends, and the amount owed is taken from the customer’s credit card.
Note:
The full authorization ensures the customer can always pay for the charging session.Prepaid payment type
The prepaid payment type means the customer must pay in advance before starting a charging session. This, therefore, means that the customer will have an account balance containing funds that the customer can use for a charging session. The account balance serves as a wallet, which stores actual money for the customer.
Information:
The money is stored as a balance in Monetization. The money (customer funds) can as well be seen under Plan in the EV Charge - Mobile App. For more information, see Plan.Note:
The customer can only start a charging session if the account balance (wallet) is not zero.The wallet can be topped using the customer’s credit/debit card. The customer’s wallet can also be topped up using a voucher code. The voucher code is configured in Monetization. For more information, see Voucher.
Furthermore, you can give the customer some credit from Monetization by changing their balance in Monetization or purchasing a product that grants them credit.
To fund/top-up the customer’s account from the EV Charge - Mobile App, see Adding funds to the customer account.
Tip:
Using the prepaid payment type for your customers is quite popular from a financial standpoint. This is because it can give you a fixed and immediate revenue stream.
Once your customers top up their accounts, regardless if they consume that within the same day, it is immediate revenue for you. The money goes straight to the configured payment gateway provider or the provider that processed the transaction—for instance, Stripe.
Postpaid payment type
The postpaid payment type will lead to the customer having a billing cycle—for example, weekly, monthly, bi-monthly, etc., where all the charges accumulated during that billing cycle will be shown on an invoice.
Therefore, the customer can start a charging session without paying in advance or immediately after the session ends. Instead, as soon as the billing cycle for the customer shifts to the next cycle, the customer receives an invoice showing all their charges accumulated during the previous billing cycle.
Information:
The charges accumulate with each charging session performed by the customer.The customer can then pay for the invoice via bank transfer, credit card, or cash (if supported). To learn more about how a billing cycle works in Monetization, see Billing cycle.
Information:
Suppose the customer has not paid for an invoice from the previous billing cycle, the dunning job configured in Monetization can be used to send out reminders to customers regarding unpaid bills. It can also be used to recollect the funds and to apply penalty charges.Note:
A customer can move from one payment type to another. However, you can decide which payment type to enable in the EV Charge - Mobile App.Choose a plan
When a payment type has been chosen for the customer, select a plan for the customer.
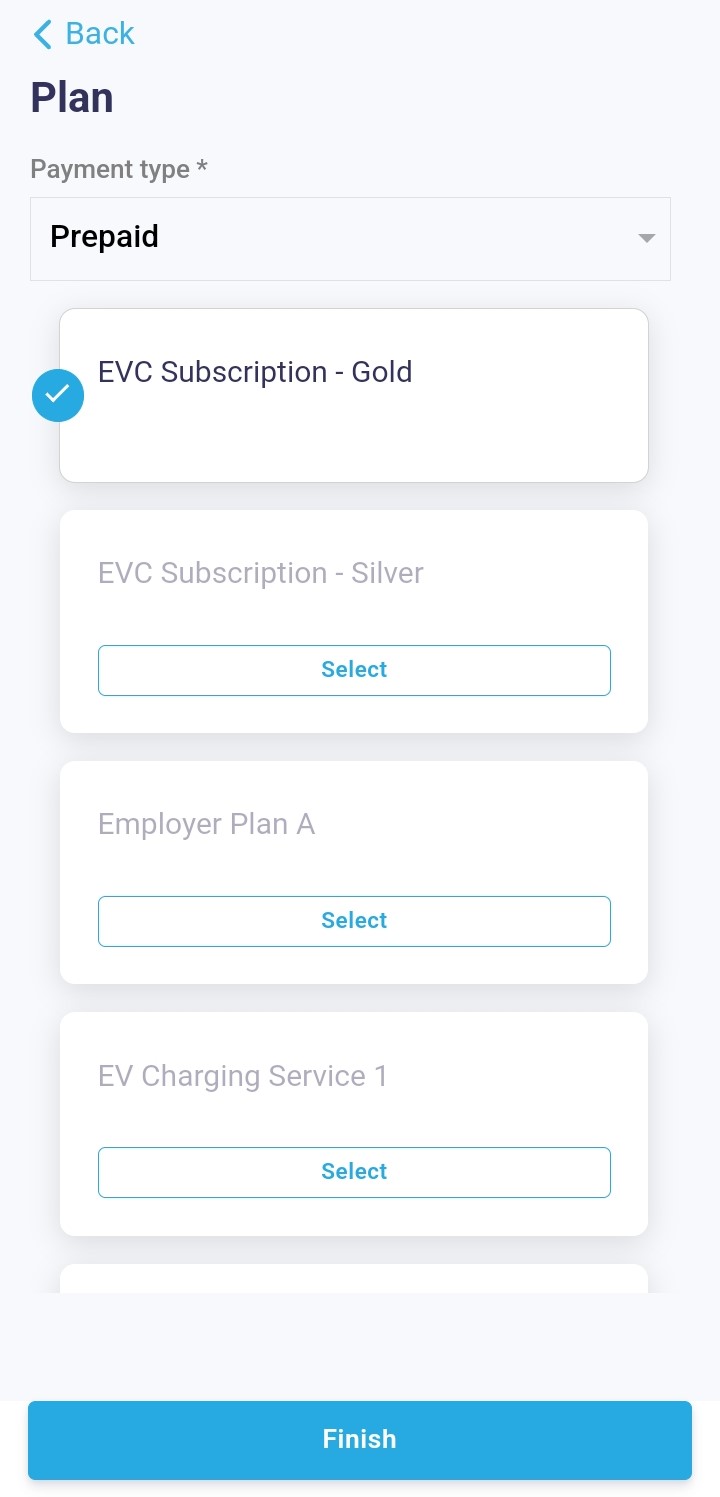
Figure 7: Choose a plan
Note:
A plan is created in Monetization; to learn what it typifies and how it is made, see Plans.A plan created in Monetization can be hidden from the customer in the EV Charge - Mobile App. This is as a result of the customer’s payment type. When a plan is created in Monetization, you can choose not to support a specific payment type.
For instance, if a plan only supports a prepaid payment type and a customer uses a postpaid payment type, the plan will not be available to the customer for selection.
Information:
From Figure 7 [choose a plan], to go back to the previous step, click Back.After selecting the plan, conclude the onboarding process by clicking Finish. The customer must confirm their email address to complete the registration and to be able to sign-in to the EV Charge - Mobile App.
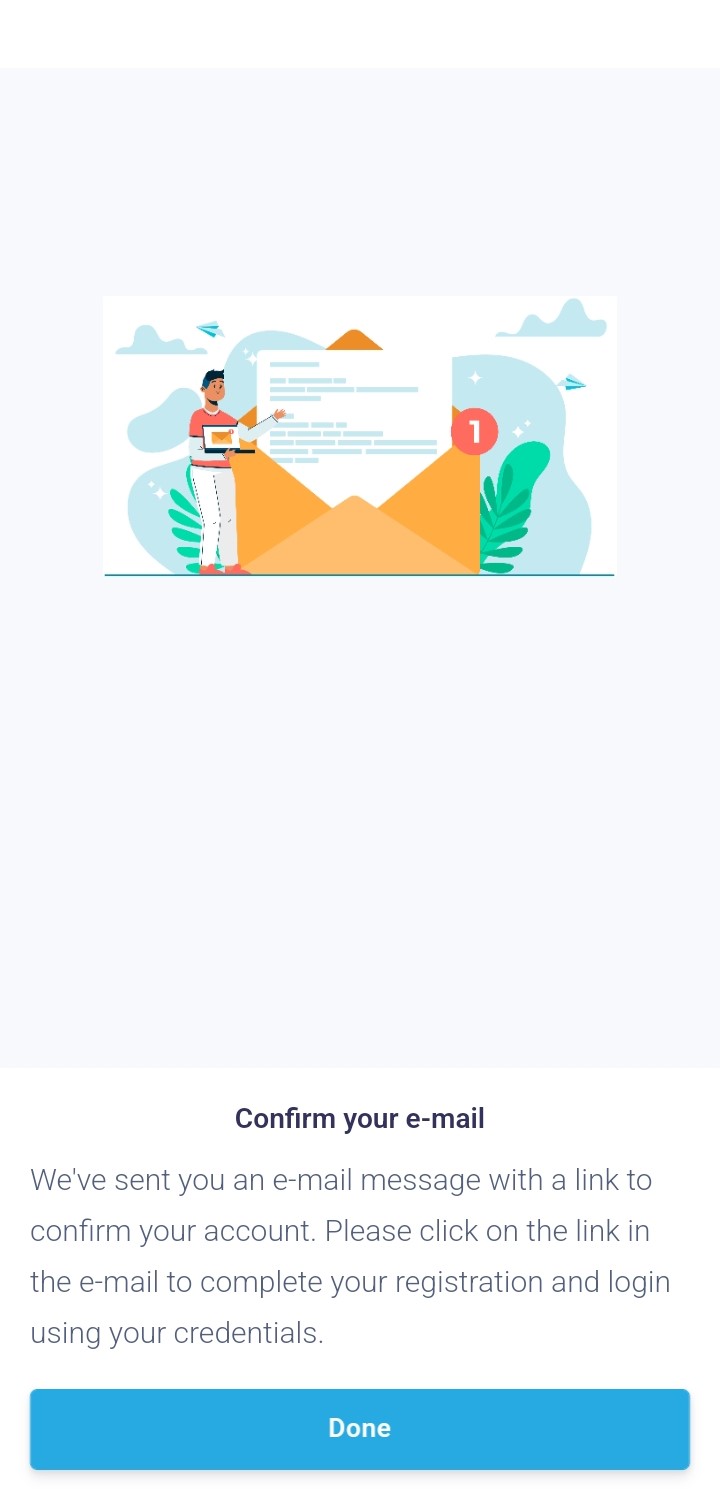
Figure 8: Confirm email
Note:
Successfully onboarding a customer (creating an account) in the EV Charge - Mobile App will create an account for the customer in Monetization.
Monetization offers customer relationship management (CRM), which helps to manage all customers related concerns. For more information, see Customers.
Information:
Once the email address is confirmed, from Figure 1 [home screen], they can sign-in to the EV Charge - Mobile App by inputting their email and password.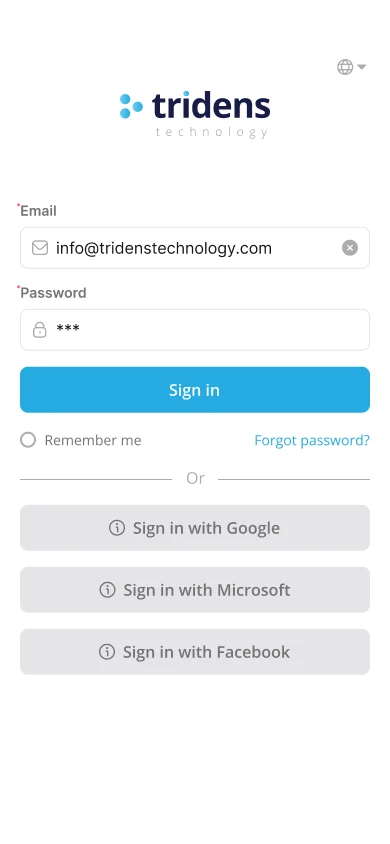
Figure 9: Sign-in screen
What next?
After signing in to the EV Charge - Mobile App, the customer can start a charging session. For more information, see Starting a charging session.